This article will go over how to create an e-commerce category, add items, and bulk add items to this category.
Create Category
1. Open up Counterpoint
2. Navigate to Setup > E-commerce > Categories

3. On the left select where you want to add your category and click the Add button on the bottom left.

4. Fill in the Add E-commerce Category Form.
Image File
This will not be the image used for the category on your site. Category images can be set in the
website management panel by following our guide here: Magento: How to Add Category Information

5. Click the "Save" button when you are done.
Add Items to Category
1. Click the Category you wish to add items to.
2. Click Add Item to add a single item.

3. Click Bulk Add to add many items.
- Item number, Item category, subcategory, and Primary vendor are all ranges.
- Item type: Choose the item type you wish to add to this category.
- Price-1 at least - Enter the corresponding number that is set to an item's Price 1 rule.

4. Click the "Save" button when you are done.
5. After you are done and your sync runs, you will be able to find these categories in your Magento admin panel.
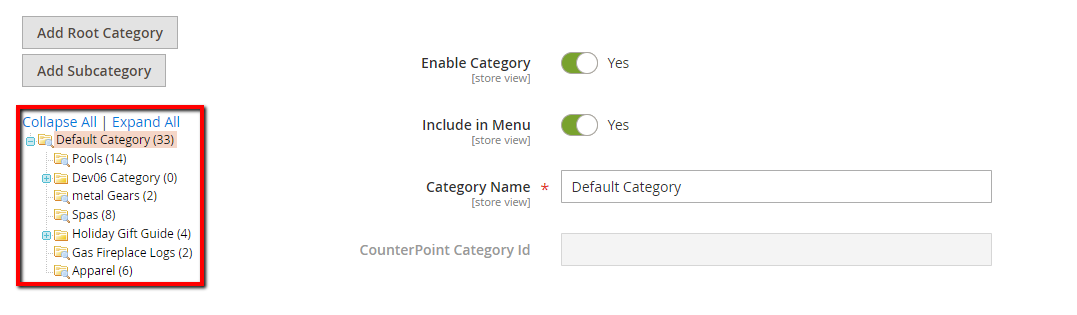
DO NOT rename, rearrange, or add new categories in the Magento 2 admin panel. Changes to category names and positions should be done from Counterpoint which will sync to the site.
Was this article helpful?
That’s Great!
Thank you for your feedback
Sorry! We couldn't be helpful
Thank you for your feedback
Feedback sent
We appreciate your effort and will try to fix the article